Need help finding the right cover?
Talk with us.
Chat with an expert
or call 1-888-726-9300
Monday - Friday:
9am - 5pm est
Measuring Laying Points Style Options Upgrades Fabric Options Assembly & Installation Modifications Care
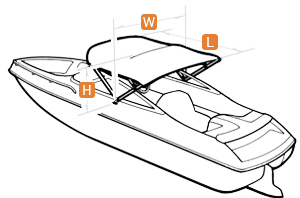
CoverQuest.com has already applied Bimini's to many year, make, and models of boats eliminating the need for measuring! We recommend certain size tops guaranteed to fit your specific year, make, and model.
For the boats we have yet to recommend a specific size for, or for the customer who wishes to choose their own dimensions - tops are offered in a range of heights, lengths, and widths to offer the best fit for your boat. Shop Now by Your Custom Dimensions!
If you need to measure for your new boat top, the first thing to consider is what portion of the boat you wish to cover. Keep in mind that the top's mounting point will be the center point of coverage. For Example, a 6' top will have 3' of coverage in front of the mounting point and 3' behind the mounting point. Top lengths will be different for every boat, depending on your use and preference. A 6’ long (3 bow) top is standard for most runabout and center console boats, but if you have a smaller ski boat you may want something in the 5’6” (2 bow) length. Pontoons will require a much larger top, this is where the 8’ (4 bow) top is typically applied. Once you have decided your points of coverage and length, you will need to find your mounting width.
To find the mounting width, measure across the boat at the center point of your coverage area. This point will also be the center point of your top (example: If you select a 6’ top you will have 3’ of coverage in front of and behind the point where you are measuring from). CoverQuest Bimini's can be mounted to virtually any surface from the windshield, to a railing, and of course the standard gunnel application. Once the mounting width is determined, measure from that same mounting point up to a height that is comfortable for you to stand, sit, or fish under. Keep in mind that the higher you go, the more shade you lose. Our advice is to stay as low as possible. This will not only give you better sun protection, but will maintain the sleek, low profile look of your boat. You should now have the length, width, and height needed to select your new top!
View our video on measuring for a Bimini Top!
Once measurements are determined, you will be ready to proceed with your order. You can order by selecting your dimensions, by calling 1-888-726-9300, using our live chat tool, or e-mailing [email protected].


When you lay your top down, either forward or backward, the top actually becomes longer. This is the result of the top's bows nestling together. This measurement can be important when you have equipment and other items to consider. Please refer to the chart below for each top's “laying length”.
2 Bows Tops:
|
Height |
Laying Length |
|
42” |
62”-64” |
3 Bows Tops:
|
Height |
Laying Length |
|
30” |
50” |
|
36” |
55” |
|
46” |
65” |
|
54” |
68” |
|
60” |
74” |
4 Bows Tops:
|
Height |
Laying Length |
|
36” |
60” |
|
48” |
74” |
|
54” |
80” |
|
60” |
86” |
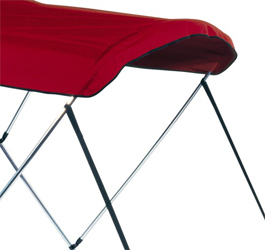
CoverQuest's Standard Bimini Frame features a double-walled main bow and 7/8" heavy walled aluminum round tubing with standard black nylon fittings. Standard fittings include heavy duty nickel plated brass snap hooks and eye straps as well as stainless steel adjuster buckles and fasteners. Stainless Steel Fitting Upgrades as well as Full Stainless Steel Frames are available. All of our Carver Bimini's include a FREE matching storage boot.
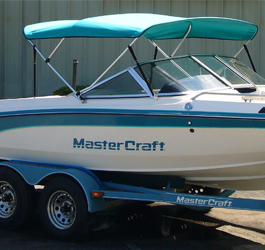
The Super Sport Top is designed to allow low-profile boats to keep their sleek appearance. It comes 35" high but can be easily cut down to as low as 30" for an even lower profile. The canvas is designed without traditional valances to give a more streamlined look. Standard fittings include high-grade black nylon fittings, heavy duty nickel plated brass snap hooks and eye straps, as well as stainless steel adjuster buckles and fasteners. Stainless steel fitting upgrades are available.
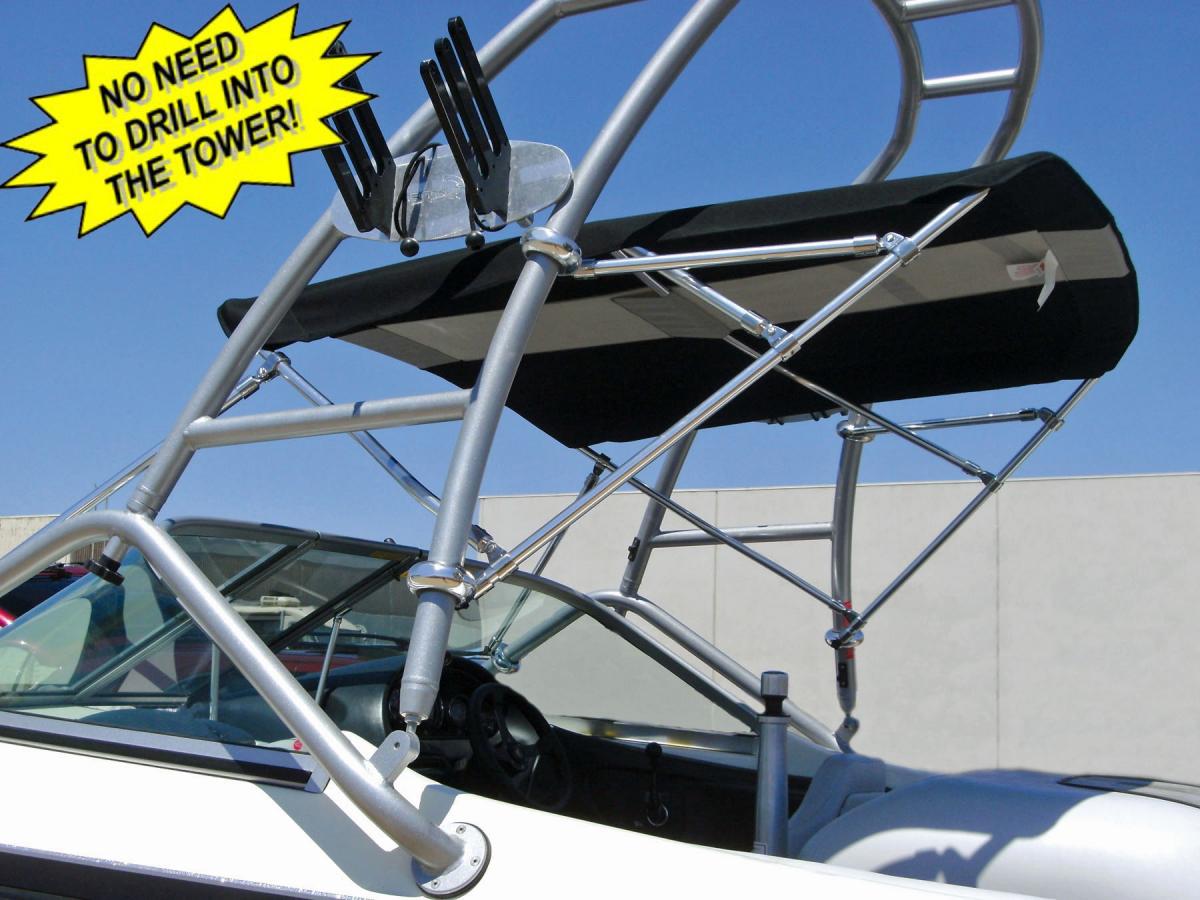
The Tower Mounting Top is designed to eliminate the need to drill into your tower. Universal tower clamps that accommodate a wide range of tower tube diameters from 1-7/8" up to 2-3/8" makes installation a breeze. Each tower Bimini comes standard with one set of tower clamps, high-grade black nylon fittings, and front and rear hold down straps. Hold down straps may be replaced with optional braces (sold separately).
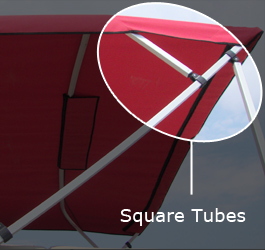
Square tube Bimini's are traditionally applied to pontoons. They match the square tube railing typically found on a pontoon. These tops are 48" high with option of 8', 9' or 10' long. Standard Bimini Tops include high-grade nylon fittings, heavy-duty nickel plated brass snap hooks and eye straps, and stainless steel adjuster buckles and fasteners. All square tube tops come standard with a FREE rear brace kit and matching storage boot. The 10' top comes with a FREE front and rear brace kit.
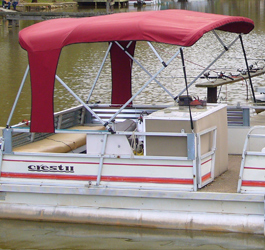
Buggy-Style Bimini's are a square tube Bimini Top complete with rear side curtains. Curtains are equipped with snaps that attach easily to rails using the screw studs provided. Standard fittings include high-grade nylon fittings, heavy duty nickel plated brass snap hooks and eye straps, stainless steel adjuster buckles and fasteners. All square tube tops come standard with a FREE rear brace and matching storage boot.
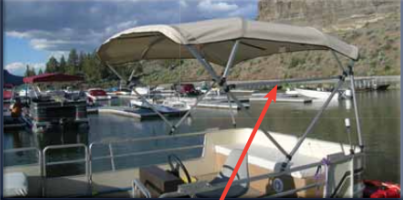
The Free Standing Bimini's is designed to eliminate the need for front braces or straps. Ideal for the fisherman needing more room to maneuver around the boat or where the pontoon's side gate location would interfere with a standard Bimini Top. The Free Standing Top is designed with a center brace between the front and back bows that hold the top in place and standing strong. This top comes with a FREE matching storage boot and attached back braces with quick release pins.
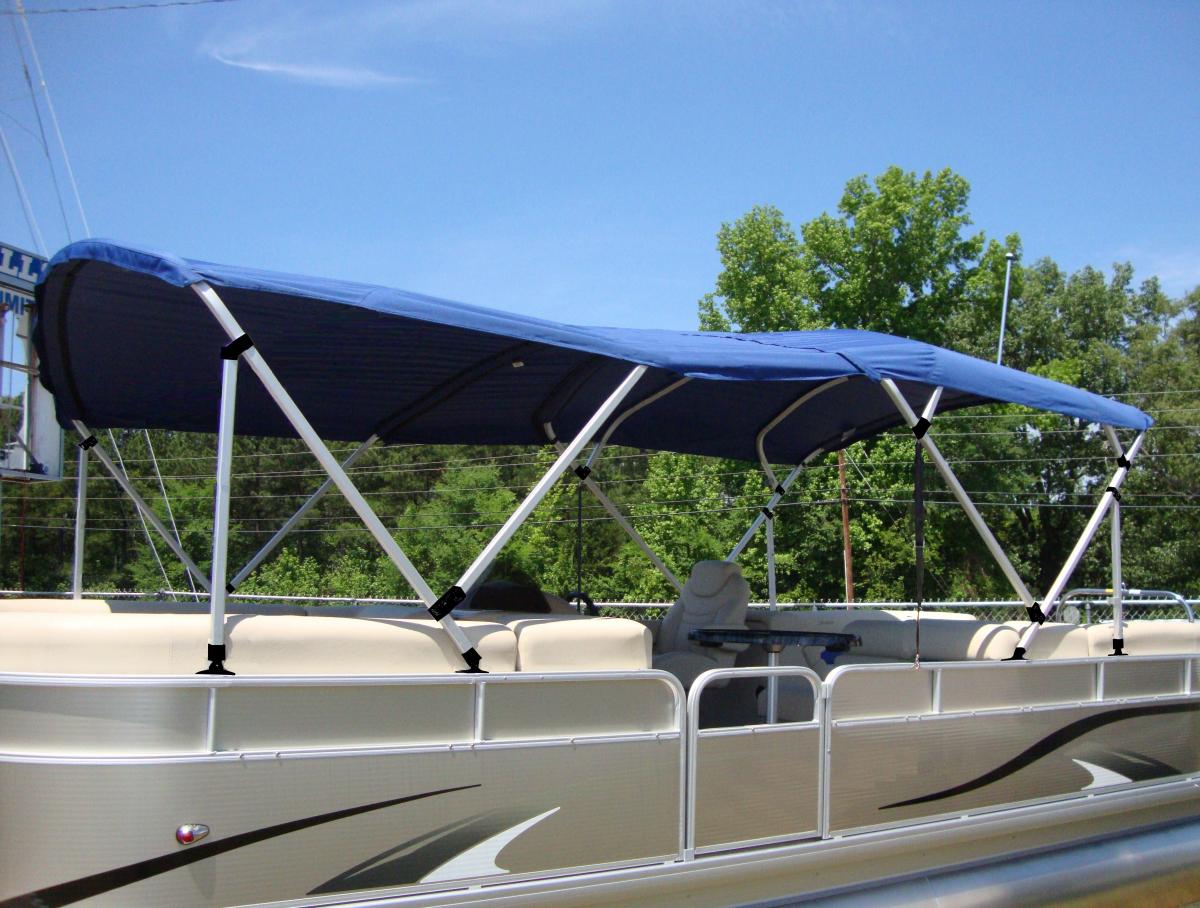
The Dual Pontoon Bimini is designed to provide a full 16-feet of coverage. Specifically designed to fit pontoon boats 22' and larger. Rear Bimini is a 4-Bow top with running light cut-out, zippered sleeves, rear brace kit and front hold down straps. The forward Bimini is a 2-Bow top with zippered sleeves and forward brace kit. The front top zips to the rear top providing a full 16-feet of coverage.
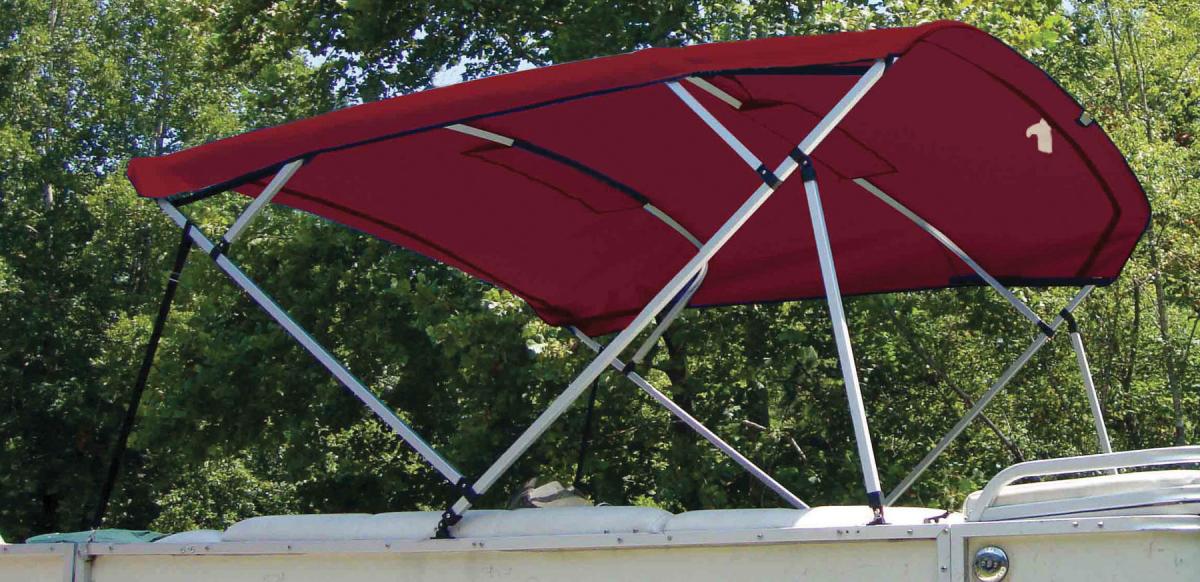
Bimini Top frames almost always outlast their canvases. Many times boat owners are faced with the choice of buying a complete new top or taking the risk of buying another manufacturer's canvas in hopes of a good fit. Not anymore! Carver Industries, manufacturer of quality made boat covers and bimini tops for over 30 years has developed a pattern for a replacement canvas that is guaranteed to fit any manufacturers frame, and it is made right here in the USA! Shop Bimini Replacement Canvases now!
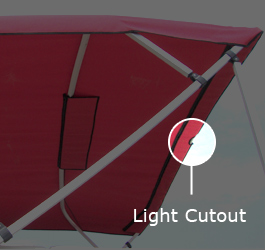
A square tube Bimini that features a light cut-out, so you can mount a running light to the center of the rear bow. This canvas has zippered sleeves making removal for cleaning and storage a breeze. Standard fittings include black high-grade nylon fittings, heavy duty nickel plated brass snap hooks and eye straps, and stainless steel adjuster buckles and fasteners. All square tube tops come standard with a FREE rear brace and matching storage boot.
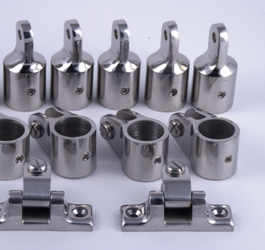
Stainless Steel fittings are an attractive and durable alternative to black nylon fittings. Stainless Steel fittings are available for 3 and 4 bow round tube tops.
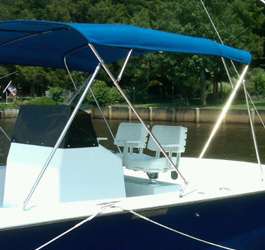
Full Stainless Steel Bimini's are the best value for saltwater applications. Full Stainless Frames include Stainless Steel Fittings and are available for all 3 and 4 bow round tube tops. Stainless steel frames are an attractive and durable alternative to our standard aluminum frame.
Don't want to assemble your new top? Let us!
All CoverQuest Bimini's come standard with all necessary mounting hardware and are ready to assemble. However, if you do not want to assemble your top, we can ship it to you pre-assembled and ready to mount for $125. Please note, pre-assembled tops must ship by truck. (The shipping address must have adequate room for the truck to deliver and turn around without issue). If you would like your Bimini shipped fully assembled and ready to mount, call 1-888-726-9300, live chat, or e-mail [email protected].
Important information regarding delivery of "Ready to Install" bimini's.

This 100% Acrylic, solution-dyed fabric is our longest lasting and most popular Bimini fabric, blocking out 98% of the sun's harmful rays. 100% breathable, water repellent and mildew resistant. Available in 19 standard colors. Additional “Sunbrella® Special Order” colors available. 10 Year Warranty. Made in the USA.
The 7 oz. Sun-DURA is an excellent material for a Bimini and is available in a variety of colors. Because it is a solution dyed polyester, it has superior color retention. The material is made to be extremely water repellent and UV resistant. Sun-DURA is a 600 denier fabric which is tightly woven to provide high tear strength. This material is produced here in the USA. 7 Year warranty.
100% Marine Grade Polyester. Known for its high tear strength, extreme water repellency, and excellent fade resistance. 100% breathable, with UV and mildew protection. Available in 3 colors. 5 Year Warranty. Made in the USA.
100% Solution Dyed Polyester. Durable and long lasting color. Breathable, water repellent and mildew resistant. Available in 3 colors. 7 Year Warranty.
100% Acrylic Coated Polyester. Lightweight but durable. Breathable, water repellent and mildew resistant. Available in 10 colors. 5 Year Warranty. Made in the USA.
Weatherproof vinyl with charcoal denim backing. Resistant to dirt, grease and mildew. Excellent sun blockage. Easy to handle, fold, and store. 3 Year Warranty. Made in the USA.

Please Note: The process of assembling the bimini frame may cause the width of the frame to expand or retract at the mounting points. If the frame appears too wide or too narrow when you are ready to mount the top on the boat, simply mount one side and, with minimal force, push or pull the opposite side to fit the mounting point on the gunwale. Important note to Top Installer/User: Be sure all set screws, fittings and pre-installed hardware are tight.
We also offer Fully Assembled Bimini Tops!
Helpful links:
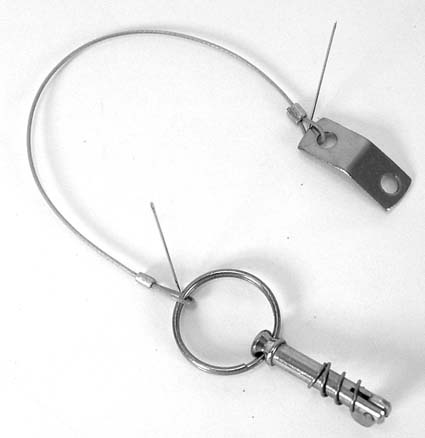
Quick Release Pins allow you to easily detach your top from the mounting brackets. These are a necessity for boaters that remove their Tops after each excursion. Please see the directions below on how to install your quick release pins:
First remove the bolt from the deck hinge. Drill out the bolt hole with ¼” drill bit. Place tab on cable underneath deck hinge –secure with 1” – no. 10 screw.
Place the outside eye end of top or brace kit in deck hinge. Push pin in hole until metal ball passes through to keep the pin in place.

To prevent the possibility of personal injury or damage to your boat do not exceed 35 MPH with your top deployed without thru-bolting. Be aware of wind speeds and reduce speed accordingly when wind is present. Lower and secure your top when trailering.
If you need to travel at a speed higher than 35 MPH you may thru-bolt your top. We do not recommend traveling at speeds higher than 45 MPH in this case.
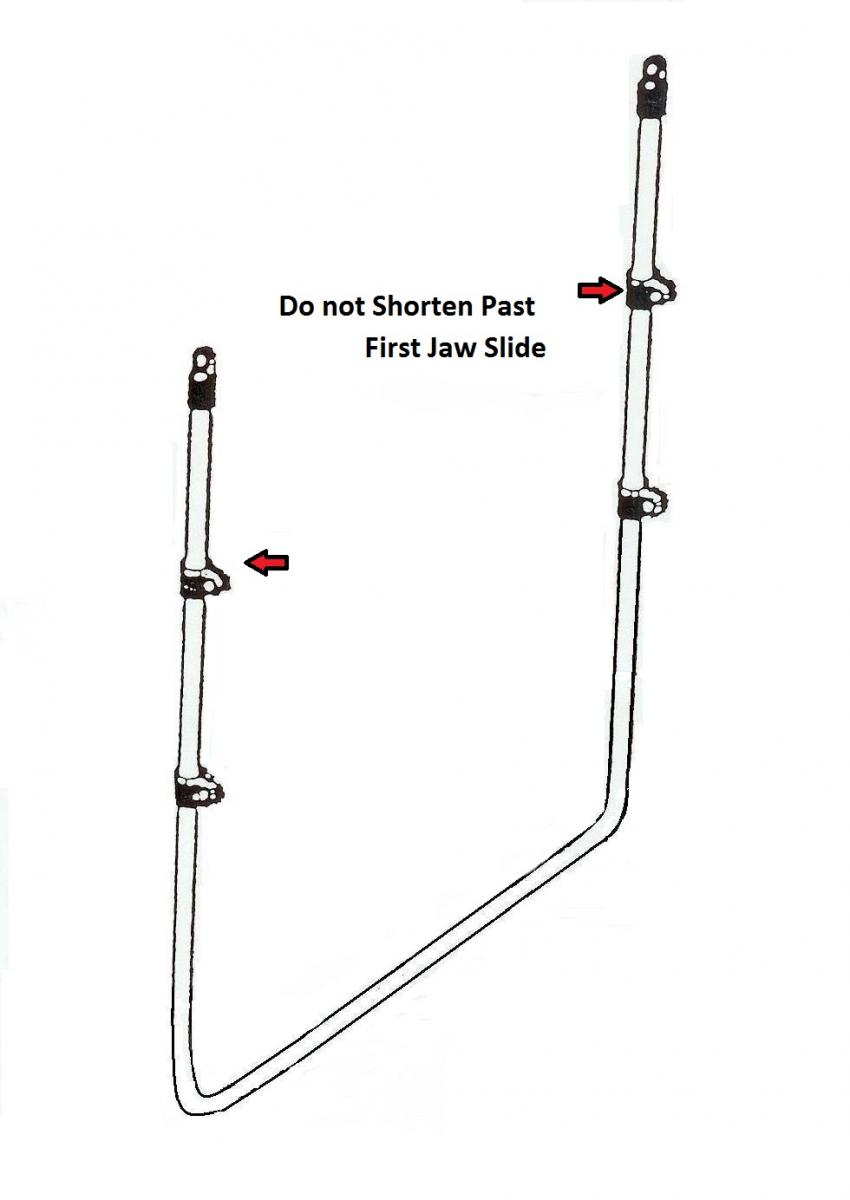
The following size tops can be shortened in height by the recommended measurements below. All other tops can be shortened up to the first jaw slide.
If you wish to shorten the height of your top you may do so by cutting the desired length from the ends of the long bow using a hacksaw. Note: Do not shorten past the first jaw slide. Once the top has been shortened, use a 9/64” drill bit to carefully drill the hole for the rivet. Be sure the eye end is set in the correct position before you drill for the rivet. Use a rivet gun to set the rivet in place.
Additional Hardware Includes:
*DO NOT attempt to cut any more length than what is recommended.
*DO NOT attempt to alter the short or medium bows.

Protect your investment by following our Bimini Top Care Tips:
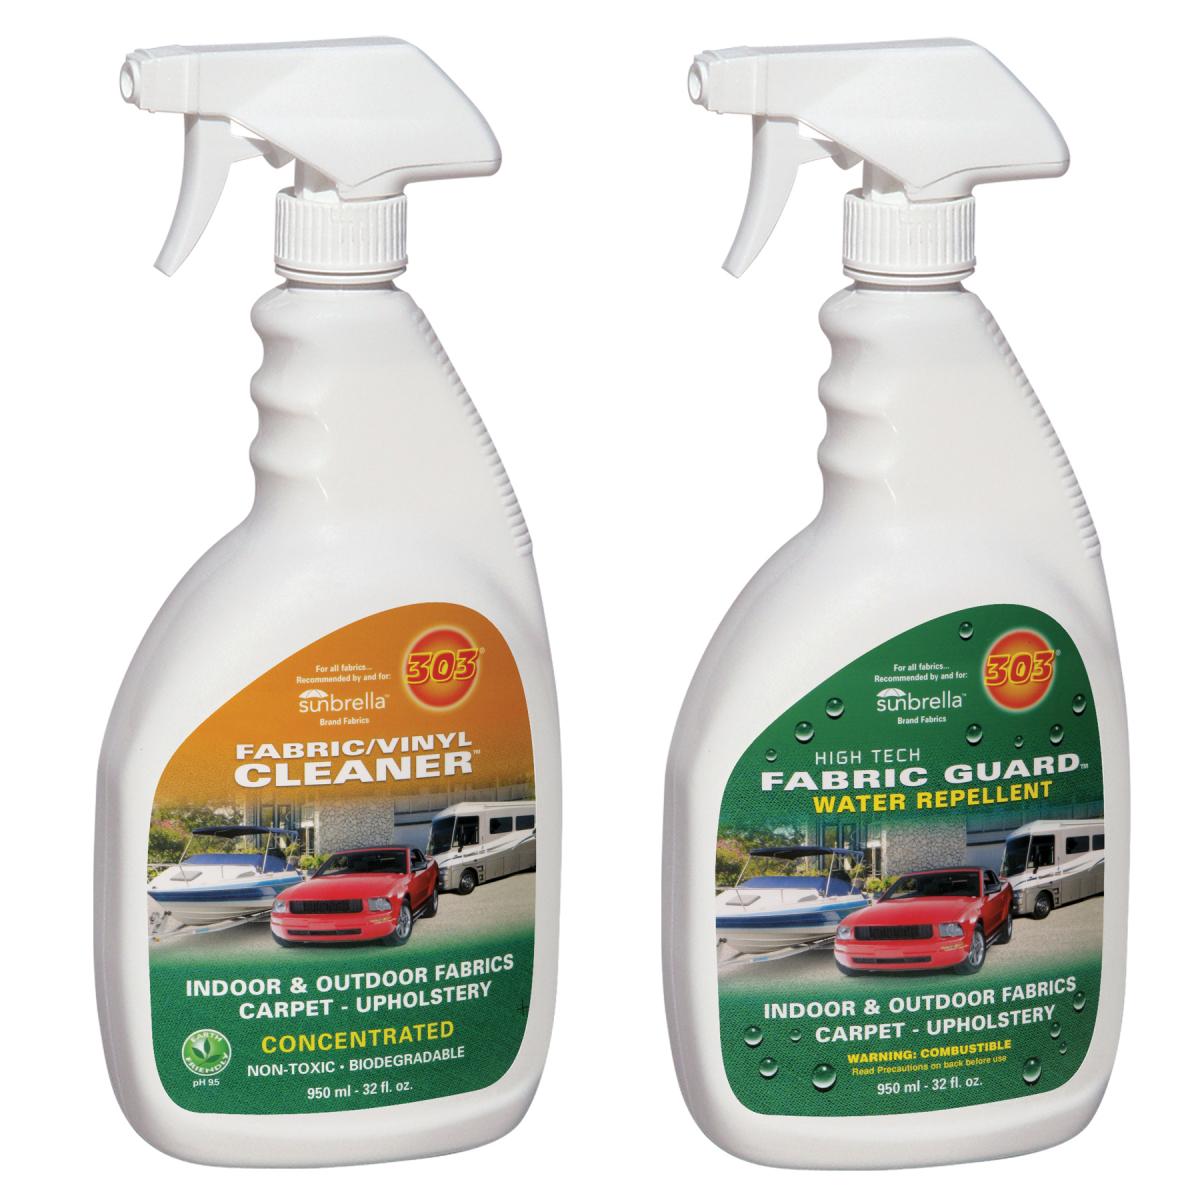 Make sure hold down straps are tightened.
or call 1-888-726-9300
Monday - Friday:
9am - 5pm est